How to import YouTube videos to WordPress

WordPress is one of the best website/CMS platforms for creators. It comes with a relatively easy learning curve, it can be dirt-cheap, and has thousands of community-led projects and third party tools around it. If you have a YouTube channel, or need to import YouTube videos to WordPress, you’ve come to the right place.
In this article, we’ll guide you through the process for importing videos from YouTube to WordPress in bulk, and automatically import new videos as they are released.
Why should I even import my YouTube videos to WordPress?
You may ask yourself – why to bother? The videos are already there on YouTube, and you can share the link with anyone so they can access your videos. That’s a legitimate question, but there are many reasons why you would want to import the videos to your own WordPress website, rather than just linking to YouTube pages.
Here are the key reasons:
- When you direct people to visit your site, and your custom domain – you’re strengthening your brand name and domain name. People would see your URL and your logo/branding rather than YouTube’s.
- Control the surrounding – When you send people to YouTube, they can easily lose concentration and click on other sections, videos, or keep on going after watching your video without checking your channel or your about page. On a website, they’re more likely to go over a couple of other pages.
- Control the content – While you definitely can and should add descriptions to your YouTube videos, it’s not possible to add more types of content to them. For example, if you want to add images, other videos, or structure the content a little differently, it’s going to be impossible on YouTube. On your website, you’re in complete control of how and where your content appears.
How to import YouTube videos to WordPress
Importing your entire YouTube channel to WordPress is a breeze with the YouTube Importer Pro plugin. In this section, we’ll guide you through the process of setting up the import options, ensure it keeps on importing future videos, and getting connected to the YouTube API.
Step 1: Download the YouTube Importer plugin
If you haven’t already, you’ll need to install and activate the Auto YouTube Importer plugin. (and potentially upgrade to the Pro version if you need more, but we’ll get to that later).
To install the plugin, either download it from the above link, and install it manually on WordPress, or just search for it on your WordPress website:

Step 2: Connect the plugin with the YouTube Developer API
This may sound a bit intimidating, but no worries, it’s an easy step and you don’t have to be a developer or an IT person to get through this!
In order to automatically import YouTube content in bulk, you’ll need to get a unique API key. YouTube is requiring that in order to avoid abuse and to ensure only approved applications and integrations can pull data from YouTube.
We wrote down an extensive, step-by-step guide on how to get your YouTube API key here. Read through that post to learn how to register your app and get your YouTube API connected.
Once you get your API key, you’ll be able to add it in the plugin (via “Tools -> YouTube Importer”) and hit the “Save” button:
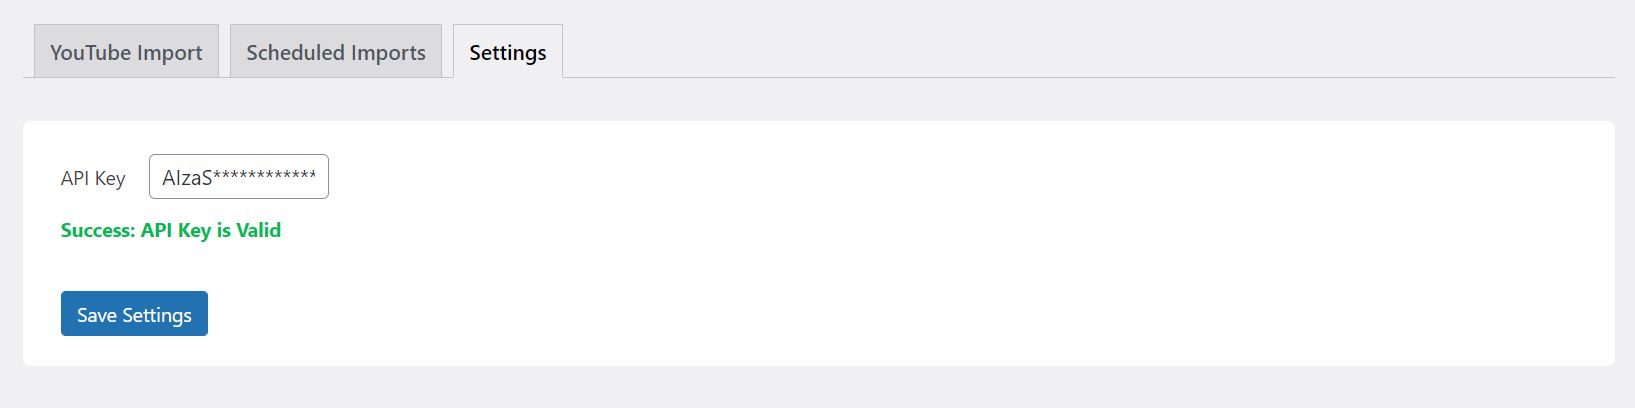
If your API key is valid, you’ll see the success message and you’ll be able to go through all the plugin’s settings. Unfortunately, the plugin cannot function without a valid API key, so if you don’t add the correct key (or if your key is inactive or not valid), you’ll see an error message and won’t be able to import videos to your site.
Step 3: Create a new import from YouTube
Once you added your API key, you’ll be able to move to the main plugin tab called “YouTube Import”.
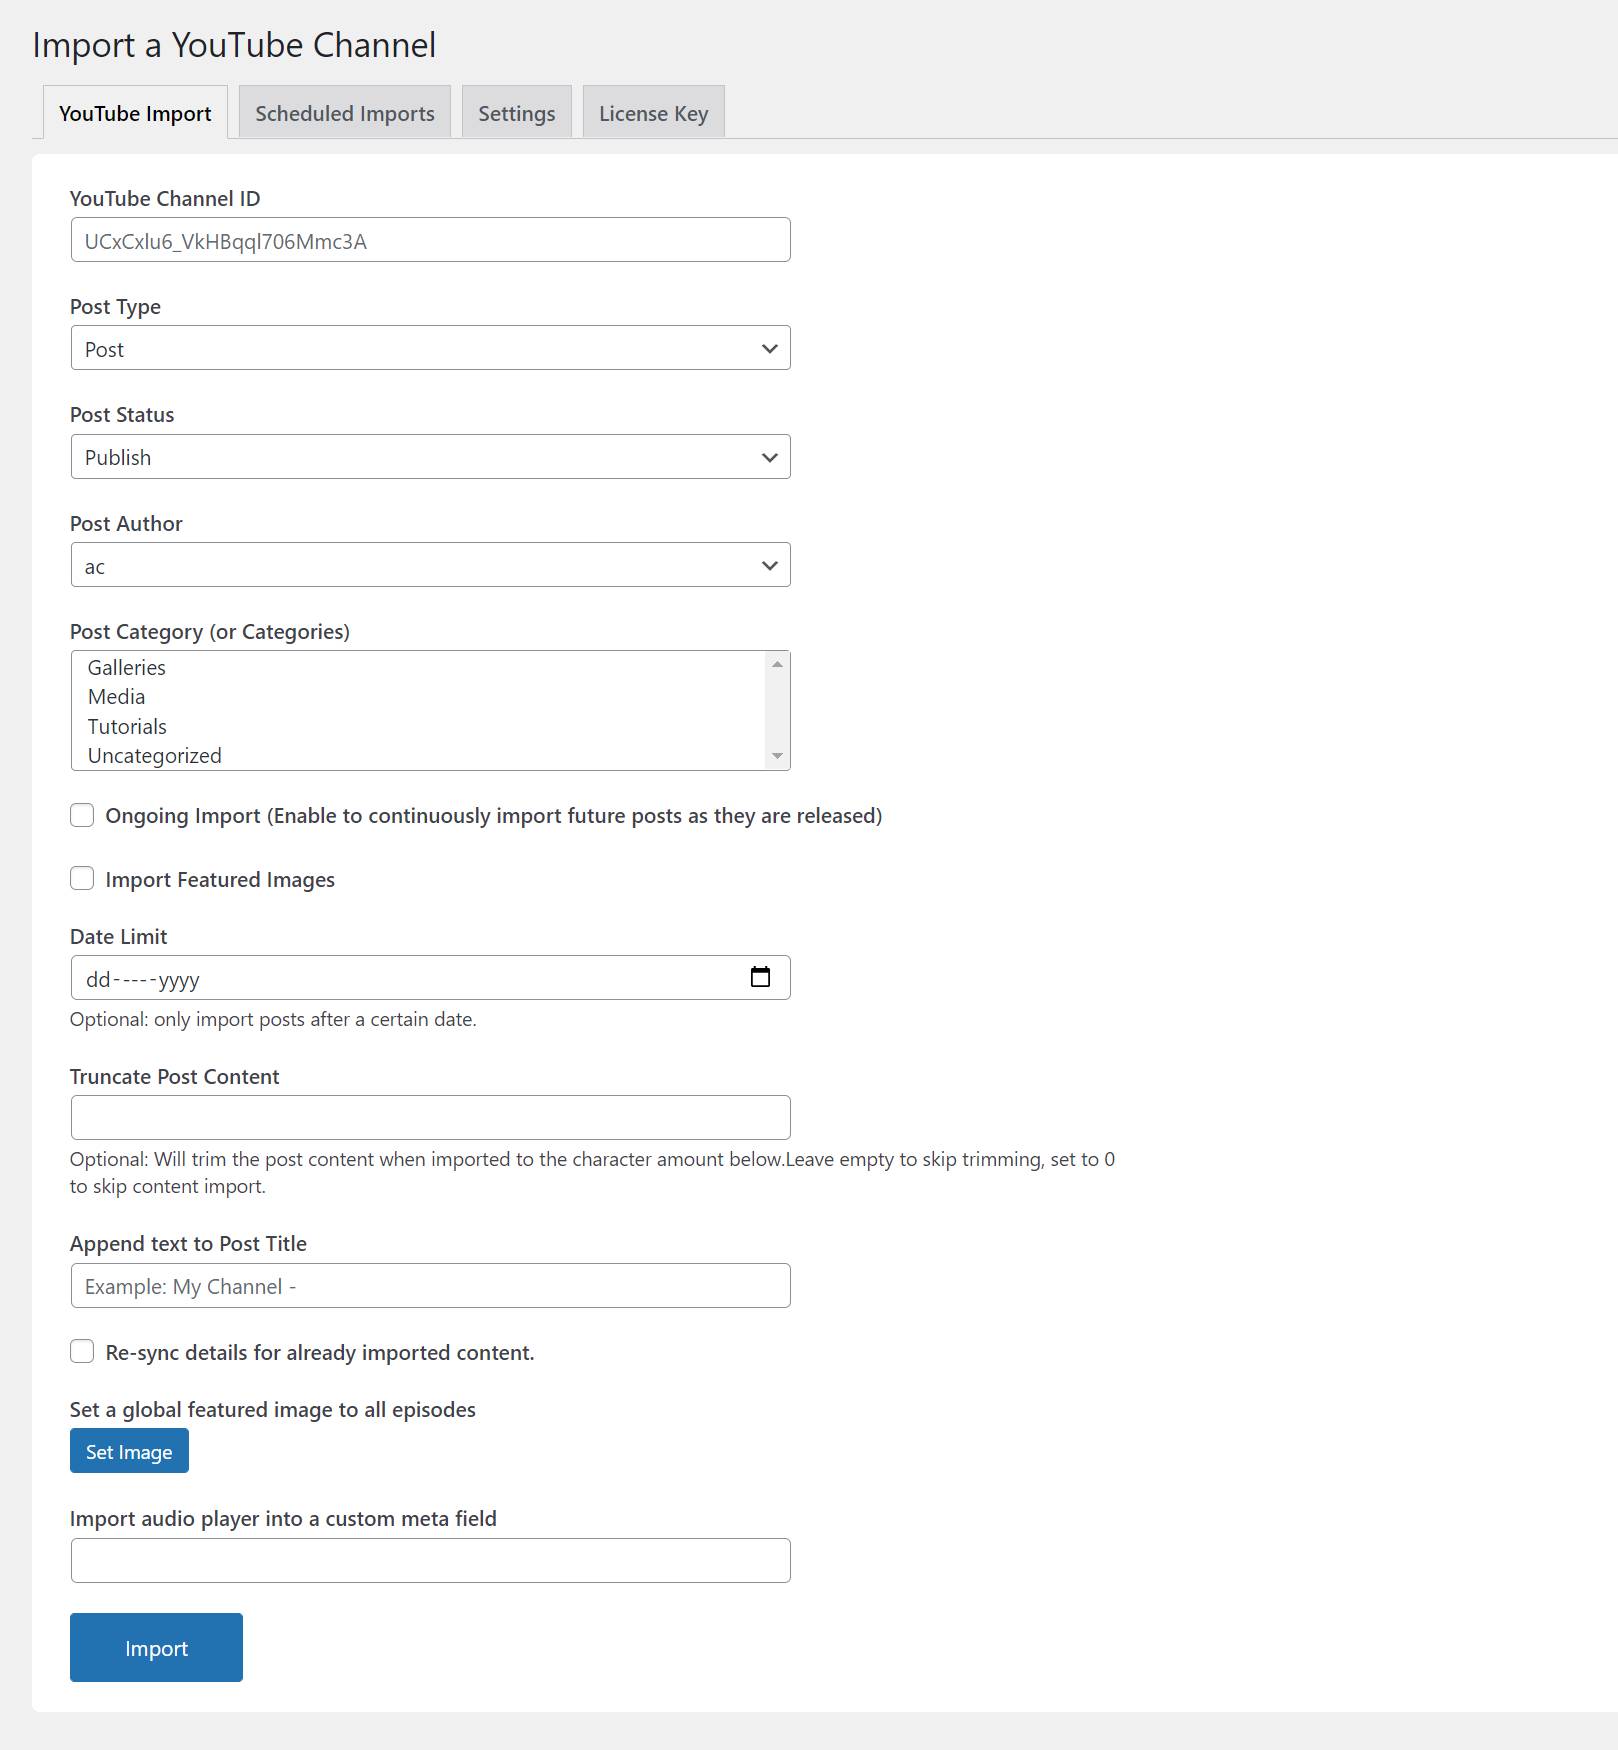
In this tab, you’ll find all the importer settings to make sure your videos get into the perfect spot on your WordPress website. We’ll now guide you through all the settings before importing the plugin: (Note – most settings are optional!)
- YouTube Channel ID – This is the only required input in the form – you obviously cannot import anything from YouTube without specifying what you want to import, so this setting needs to contain your YouTube Channel ID. To find your Channel ID, you can browse through your channel’s main page on YouTube, and copy the ID from the URL.
Another option is to find it online, like on this page. - [Pro setting] Post Type – If you’re using the Pro version of the plugin, you’ll be able to use any Custom Post Type for your imported videos. Otherwise, you’ll be restricted to the default post type (called “Posts”).
- Post Status – By default, all imported videos will be published immediately. If you want to import them as drafts, and manually go over them and only publish when you’re ready, choose the “Draft” option here.
- Post Author – You can change the published post author, otherwise the plugin will assign the site admin.
- Post Category – You can assign one or multiple categories to your imported videos. By default, the plugin will use the “category” taxonomy, but if you use the Pro version, you’ll be able to use any custom taxonomy here as well.
- Ongoing Import – This is one of the most powerful options of this plugin. When ticked, the plugin will continuously scan your YouTube channel and whenever you release a new video, it’ll be imported, automatically. (there could be a delay of up to two hours)In the free version, you’re limited to only import one channel continuously, while in the Pro version you can import as many channels as you want with the continuous import.
- Import Featured Images – If you want the YouTube thumbnails to be imported as featured images, tick this box. Note – the images are imported with some delay, so it might take a bit of time until all are imported.
- Date Limit – If you only want videos from a certain point in time, set the date limit here and only videos from that date and beyond will be imported.
- Truncate Post Content – To skip importing the text/description content from YouTube, use 0 here and it’ll only import the videos and titles. You can also use any number to limit the imported description to a certain number of characters.
- Append Text to Post Title – In case you want to prefix your titles with some text, add it here. For example, you can add the text “My Video Channel – ” and all your imported posts would get this text in the title, for example “My Video Channel – Video 1”, “My Video Channel – Video 2” etc.
- [Pro setting] Re-sync data – Basically once you import posts from YouTube, they won’t be imported again (to avoid duplicates). If you change your video, the description, or anything else – check this box to force a re-sync and override any previously imported content. (this will override any manual changes you’ve made to the imported content)
- [Pro setting] Set a Global Featured Image – You can choose one main image to be added to all episodes if you have the same thumbnail for all videos.
- [Pro setting] Import video player to custom field – If you need the embed/iframe video to be imported to a custom field (instead of importing it to the content area), use this field and insert your custom field name here. Any custom field is supported, but just make sure you implement it as part of your theme.
Step 4: Managing saved imports
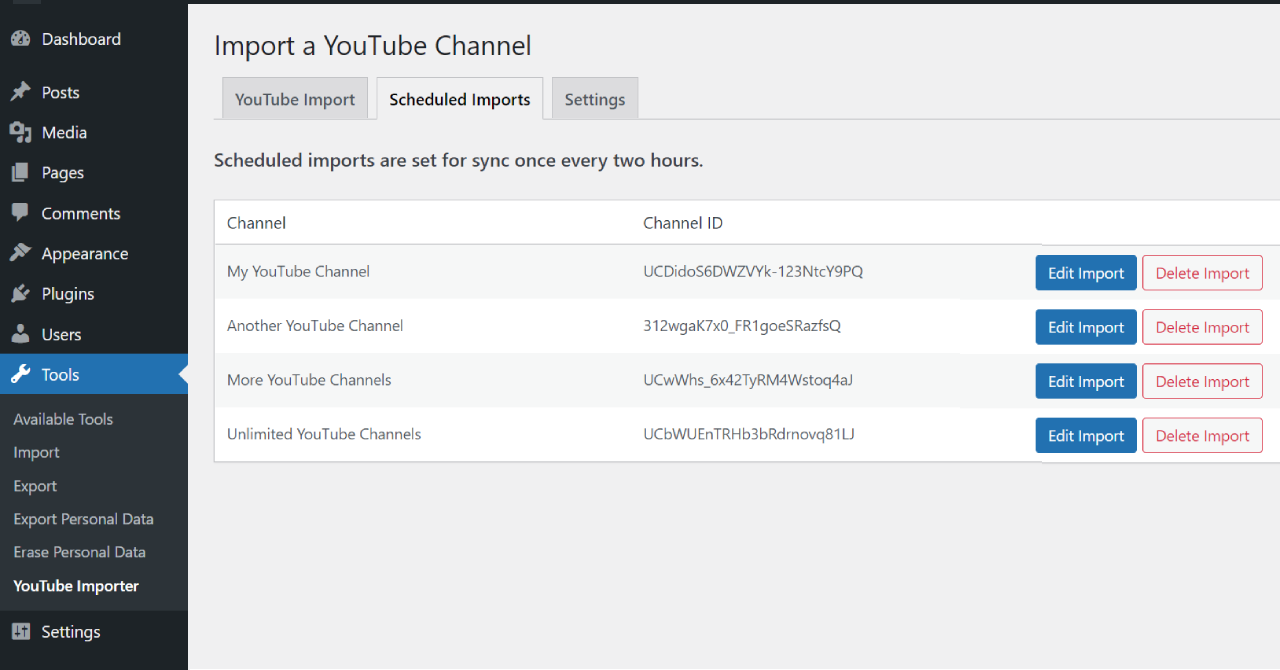
After you’ve imported several channels and saved them with the “Ongoing Import” option, you’ll be able to access the “Scheduled Imports” tab to manage those.
In here, you’ll be able to:
- Manually re-sync the channels – if a video is missing, hit the “Sync” button and it’ll automatically re-run a sync of your channel.
- Edit your import parameters – if you need to change a setting after the import has been scheduled, edit it here. (for example, add an extra category or add featured images to the imports)
- Delete a scheduled import – when you want to stop importing videos from a certain channel, simply delete the import.
Conclusion: Importing your YouTube Videos to WordPress
In the past, importing your YouTube videos could have been a real pain. You had to use plugins that are not specifically designed to import YouTube videos, manually create entries one-by-one, or run an import process manually rather than let it run continuously like with our plugin.
Luckily, the YouTube Importer Pro plugin solves all of these issues, and you can relax and lean back while your videos are being imported automatically. The plugin takes care of all your future videos, so there’s nothing to worry about whenever you publish a new video on YouTube.